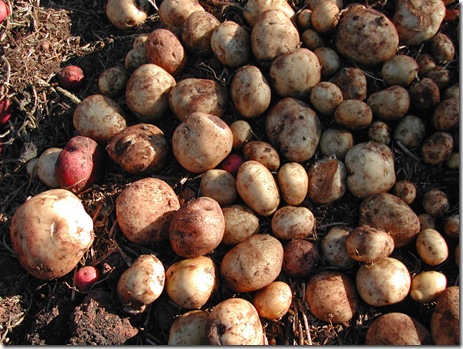
 Harvesting the humble potato is one of the many joys of gardening; planting them is even simpler. In the middle is where all the work occurs – up to 80% of the potato tubers that form under the ground grow on the roots that form above the original ‘mother potato’. For this reason, ‘seed potatoes’ are planted in trenches, and the earth is gradually ‘hilled up’ around their branches as they grow. The deeper you can bury the original tuber, the more potatoes it can form on the branches that you bury above it. (Be careful not to bury the mother potato too deep – it needs to still be in the top-soil where it can produce roots freely, and the growing shoots should not expend all of the energy stored in the mother potato just trying to find daylight…)
Selecting potatoes to grow is easy; simply head down to the market or the fruit and vegetable store and seek out potatoes that have been grown locally and that you’d like to eat. 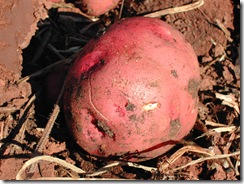 A bit of prior research can help here; some potatoes roast well, others make great mashed potato, some hold together and peel well when boiled and some are best for hot chips/fries. They also come in different colours; red, white, yellow and (though seldom seen in shops) deep purple. This year I’m planting ‘Dutch Cream’ potatoes in an effort to find an approximate Australian variety to the yellow-fleshed boiling potatoes that I have enjoyed for decades at my mother-in-law’s table in Germany.
Potatoes grow vegetatively from the ‘eyes’ of existing potatoes; 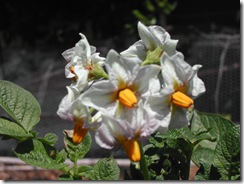 you will never find packets of ‘potato seeds’ on the seed racks, although potatoes do flower and even occasionally produce pods of sterile seeds, seemingly only to alert one to the fact that things are happening underground, and that harvest time is approaching.
The potato tuber contains all the food these early roots and shoots need to get going; one need only place one’s chosen ‘seed potatoes’ in a dark dry place in a brown paper bag or between hessian sacks to allow germination to begin.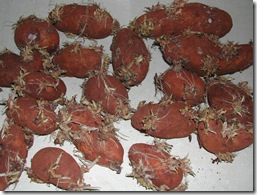 This germination period takes a week or two. Once the shoots and roots appear, the potatoes must be handled carefully so that these 2.5 cm long tips are not accidently knocked off. Large potatoes can be cut in two, though I prefer to start with smaller egg-sized potatoes and plant the whole tuber.
We can grow two crops of potatoes each year here on the Adelaide Plains, but my observation is that ‘when to plant’ is not something one should get too anxious about. Provided potatoes have enough (but not too much) water, they grow steadily during all seasons. 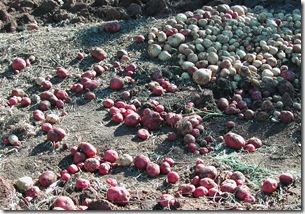 However, potatoes are like weeds – once you have them, you can have them forever, as any tubers that you fail to harvest will produce another potato plant not long afterwards. These secondary plants are never much good, as potato diseases stay stubbornly in the soil, and the best potato crops are grown on soil where no other solanum crop (e.g. tomatoes and egg-plants as well as potatoes) have grown in the previous year. So pulling up ‘weed potatoes’ is one of the opportunistic jobs a gardener carries out as an aside to whatever else he is currently doing. (If the strays are not weeded out they will produce a crop of potatoes on the soil surface; exposure to sunlight causes the potato skin to start photosynthesising, creating a green area at the top of the tubers that is toxic to humans and animals).
And so, finally, to the planting… I grow my potatoes along drip-lines, because that’s how I water various crops from the 60,000 litres of rainwater collected the previous winter and distributed now in autumn when the price of ‘town water’ peaks after heavy summer usage. 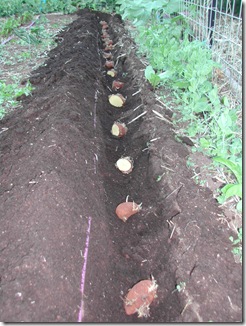 I hoe a trench about 10 cm deep along one side of this 8 litre-per-hour drip line and lay the sprouting seed potatoes in that with the shoots pointing upward. Tubers are spaced at about 25 cms or more apart, then the trench is backfilled with the loose and friable soil that was hoed out. This backfill is not tamped down, as this might damage the shoots – I just fill in and cover the tubers. Once these shoots pop out and form the leafy crown of the potato plant, I dig up soil from the opposite (vacant) side of the drip line to start the hilling process. The drip line will be pulled up before harvest lest it be damaged by my horseshoe-shaped potato hoe as I play hide and seek with these hidden treasures. Plant one potato, and there to replace it you will find up to a dozen!
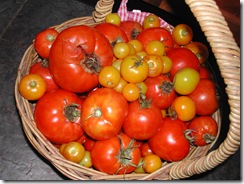 finish up and greener vegetables start to flourish thanks to the occasional rain shower, cooler days and sunny weather. Among these leafy vegetables are the Chinese cabbages, the basic ingredient for the spicy Korean fermented vegetable called Kimchi. Our regular German sauerkraut recipe can be found here; Kimchi is made with more coarsely chopped Chinese cabbage rather than the finely-shredded German ‘filderspitzkraut’ of our traditional green sauerkraut.
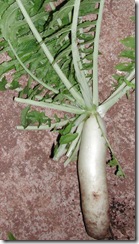 The ingredients are all available from the kitchen garden and are simplicity itself for the cook to wander around and harvest. These consist of one head of Chinese cabbage (cored and chopped), a bunch of chopped spring onions, a cup of grated carrots, a grated Daikon (Japanese) radish (see photo on left), a tablespoon of freshly grated ginger, three cloves of peeled and crushed garlic, a half teaspoon of chilli flakes (we use fresh chilli, because that’s ready in the garden too), a tablespoon of sea salt and four tablespoons of whey. These prepared ingredients all get put into a large heavy duty pan and pounded with a wooden mallet to release the juices.
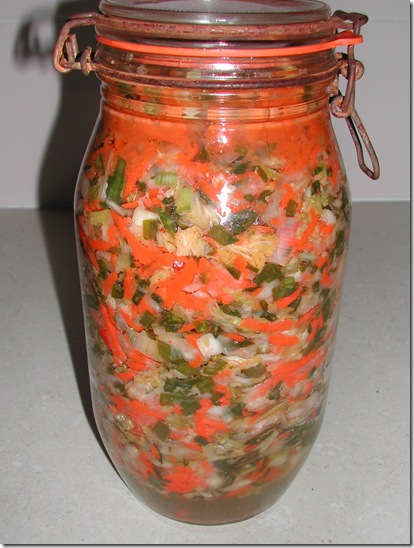
 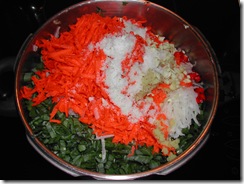 The mixture is then placed in wide-mouthed glass jars and pressed down firmly with the pounder until the juices come to the top of the cabbage. The top of the vegetables should be a few centimetres below the top of the jar, which is closed up and left to start the lacto-fermentation process that will preserve this autumn produce for many months to come without refrigeration or freezing. Our recipe is based on that from the book ‘Nourishing Traditions’ by Sally Fallon.
