A Seed-Saver’s Spring Sunday Seed Selection

It’s late winter in Southern Australia. Really late in fact, because the official start of Spring ‘down under’ is the 1st of September, now only four days away…

Someone should have told Mother Nature – she’s turned up early, the weather is sunny and warm, and the peach and pear trees are in blossom. Time to get out the seed collection and look for any holes that will give me the delightful excuse to wander down to the shops and buy one of the few things that shops sell that interest me – packets of vegetable seeds.

But this year that thill is not to be – the only seed I haven’t saved on from last autumn is Spring Onion seed.

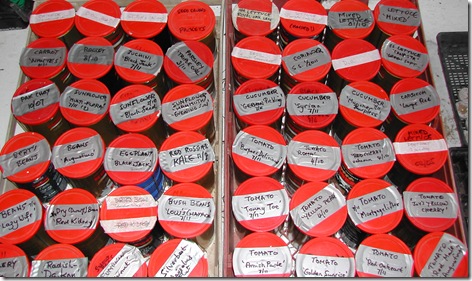
Seeds set out for spring and summer planting; this represents about half the collection, and over 50 different varieties. They are stored in empty coffee tins having press-fit lids.

So on this Seed Saver’s Sunday, I’ve whittled the collection down to about 50 varieties of vegetables that will be planted out in the coming warmer months. Another 50 tins of seed have been set aside: these contain winter vegetables, varieties that I’ve saved on but have no further interest in planting out, some (like sweet corn) that use too much water, and a few that are probably past their used-by-date.

Here’s the list for this year – it doesn’t include all those winter herbs and vegetables already out in the beds and powering along (broad beans, potatoes, fennel, mint, horse-radish, onions, leeks, garlic, purple-sprouting broccoli, silver beet, chillies, peas, asparagus, red cabbage, lettuces, strawberries, corn salad and so forth): -

  1. Tomatoes: – Amish Paste, Golden Sunrise, Red Ox Heart, Italian Red Marl, Joy’s Yellow Cherry, Mortgage Lifter, Burpee’s Delicious, Yellow Pear, Tommy Toe, Roma and Red Cocktail
  2. Beetroot: Crimson Globe, Cylindra, Derwent Globe
  3. Cucumber: German Pickling, Syrian, Muncher Burpless
  4. Basil: Sweet Genovese
  5. Coriander
  6. Dill
  7. Eggplant: Black Beauty
  8. Capsicum: Large Red
  9. Lettuce: Royal Oak-Leaf, Purple Oak-Leaf, Green Cos, Red Cos, Canasta, green mignonette, etc
  10. Radish: Daikon
  11. Pumpkin: Butternut, Queensland Blue
  12. Silverbeet: Malcolm’s Flat, Red Chard
  13. Beans: Lazy Wife (climber), red kidney (dried), Giant of Stuttgart (climber), Cherokee Wax (yellow bush bean), Low’s Champion Bush Bean, snake bean, Bert and Augustino’s seed-savers’ beans
  14. Sunflower: Multi-flora, black seed (name unknown), Mammoth, Evening Sun
  15. Chinese vegetables: Pak Choy, Wombok
  16. Rocket
  17. Parsley: Triple-curled, Italian flat-leaved
  18. Carrot: Nantes
  19. Kale: Red Russian
  20. Spring onions: flat-leaved
  21. Celery: Green Crunch
  22. Zucchini: Black Jack, Early Prolific Straightneck

Spring omelette

Well, okay, it's not spring yet. But have a look out of the window! Doesn't it just feel like spring? It's sunny, warm and the bees are buzzing about.

The asparagus is starting to shoot up in earnest.
There are some absolute rippers in the patch!
Let's just cut them a little, get some eggs from the chooks - and ready for an omelette!Lunch is sooooo good! :)

How to make chocolate-coated orange peel snacks

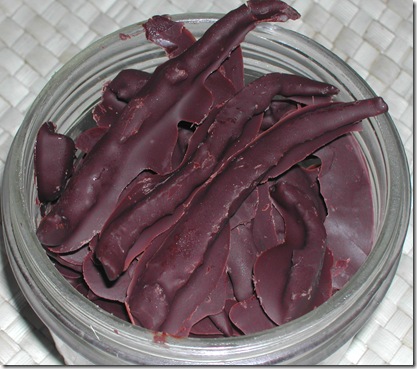
DSCN5677 The citrus trees are heavily-laden as winter draws to a close in southern Australia. As the Washington-Navel oranges sweeten up they become easier to peel and break apart into juicy segments, just like mandarins. The oranges taste great, but the peel makes something even better – chocolate-coated orange-peel snacks.

We have two types of orange trees in our kitchen garden – the other type (Valencia) is a juicing orange that is not easily peeled, and whose skin is too thin for this recipe. Nor will they be ripe until sometime in summer, when they last for months on the tree, and make a wonderfully cool and refreshing drink of a sunny morning.

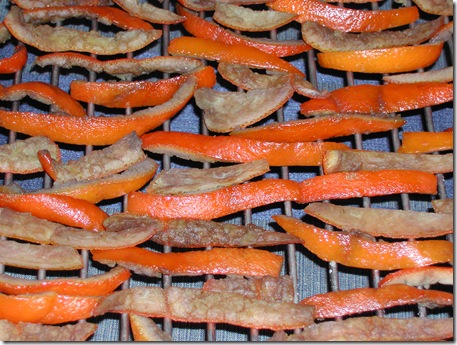
Typically, two large Washington-Navel oranges are peeled, and this peel is then cut into strips one centimetre wide. These are placed in a saucepan, covered with water, then brought to the boil before draining with a sieve. This process is repeated three times to take the bitterness out of the peel. Then a cup of sugar is added to a cup of water and heated until the sugar is dissolved. The orange slices are then dropped into the sugar-water and the whole mixture brought to the boil and simmered for a further 5 to 10 minutes. Strips are then removed from the water and allowed to cool and dry overnight on a cake rack.

DSCN0002

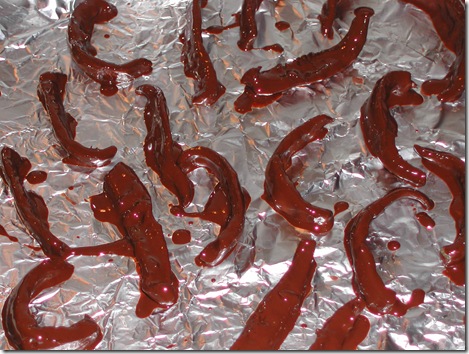
125g of dark chocolate is then melted inside a metal dish which is itself placed inside a saucepan of gently boiling water; this method prevents the temperature of the chocolate rising above the boiling point of water (100C). The cool orange strips are dipped in the melted chocolate and laid out on a piece of aluminium foil to cool and set. If it’s a warm day, place them in the fridge to cool.

DSCN0008

At this point the cook would prompt me to add that these chocolate-coated orange strips don’t keep very long, so they ought be stored in the fridge regardless.

DSCN0004

But we don’t actually know how long this optimum storage period might be, as they disappear well before their use-by-date in some other mysterious and stealthy fashion, marked only by the smile on the face of the gardener.

Winter in the garden

The cabbages are getting bigger.
The cauliflower is thriving.Purple cauliflower.
Another purple cauliflower. Groovy colour, eh?
The garlic is looking promising.
And a sookie sheep. Froggie wants pats.
How is your garden doing? Is it feeding you well? :)

Brussel sprouts

I have not had any success growing brussel sprouts. Yet. This year I am hoping to harvest a few.

So, this is what they look like at the moment. Loose sprouts on the stems. Will they 'hearten' up? I sure hope so. And how long does that take? When, oh when, can we harvest a delicious, home-grown brussel sprout?
Have you been successful with brussel sprouts? What's your trick? Advice?

Spring is in the air - Asparagus

Darn, darn, darn! – this is the publishable version of what’s running through my mind as signs of Spring pop out everywhere to warn the gardener that burgeoning new life waits on no laggard’s schedule…

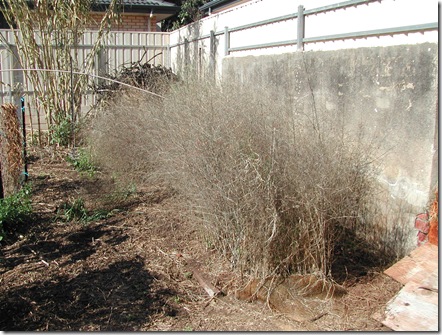
So here stands the asparagus plot, with all the old dead fronds still standing about from last autumn – these should have been cut down months ago and compost added to feed the new growth underground.

Dried asparagus ferns; these green fronds appear once the asparagus harvest is finished, and feed next years crop. They dry off in autumn, and are normally removed to allow the new crop to come through and to prevent disease over-wintering here.

I like asparagus; once a good plot is established, it looks after itself for twenty years or so, and fills the cook with joy each Spring as we harvest the nutritious shoots of these edible ferns. I don’t actually water it very often, and it just plods along producing a brief burst of nutritious food year after year.

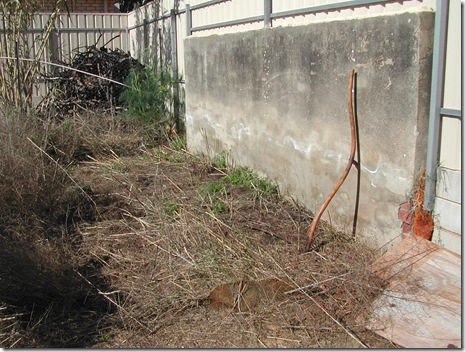
I should be more grateful, I expect – after all, it gives me my once-a-year chance to get out the antique scythe I keep in the shed, simply because I’ve always wanted one. A few swings, and the old ferns are down and out of the way, and the scythe goes back to the shed for another year.

A few sweeps with my trusty scythe, and the old fronds are gone to make way for the new. Sure, I could  just pull the old stuff out, but I like tools that don't need petrol, so I own a scythe.

And sure enough, I’ve mown down a dozen good asparagus spears, which I will contritely hand to the cook to drop into tonight’s supper or put straight back into the compost bin to feed some future crop.

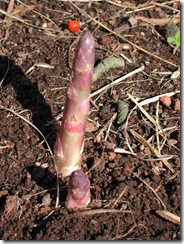
Asparagus spears emerge in early Spring; we keep cutting them at ground level while they remain flexible and we haven't gotten sick of eating them. Ah well, at least the chooks will be happy – I’ve moved a year’s worth of compost from one of our four Geyde bins onto this accessible bed, and this is alive with worms; the chooks will turn the whole lot over and plough it in without doing any damage to the sturdy asparagus shoots. One less job for an over-run gardener to do…

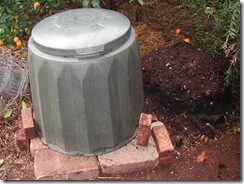
This Geyde bin swallows household scraps for more than a year, then produces rich brown compost alive with worms. Recycling organic kitchen wastes in this fashion helps to replenish our soils. One can see this small heap of compost on the ground to the right of the green bin.

Late-winter plantings: broccoli and Chinese cabbage

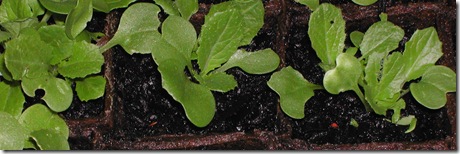
'Chinese cabbage' seedlings grown from seed in fibre pots filled with potting mix and kept well-watered.

It’s early August here on the Adelaide Plains, so there are only three more weeks to the official start of Spring in southern Australia. And, as it was in every other year and in every other season, the gardener is trailing the calendar by at least a month…

A month ago, I’d sown Chinese cabbage seeds (Wombuk and Buk Choy)into fibre pots and potting mix for making kimchi, Hollow Crown parsnips for soups and puree, and purple-sprouting broccoli to please the cook; these seedlings have now germinated despite the cold and the rain, and it’s time to bung them in the soil while it’s nominally still wintertime.

This sounds simple enough, but in reality is compounded by the chaotic state of my shed bench which must first be cleaned up so that I can lift the seed trays to a suitable height to thin the seedlings. A month ago, my aim was to put lots of seeds in each pot just in case the germination rate was poor, and because thinning is easier than re-sowing empty pots. So here’s a photo showing the before and the after, and further down those sad little seedlings that didn't make the cut. This is a ruthless business, and so anyone named Ruth is kept off the property until the job is done!

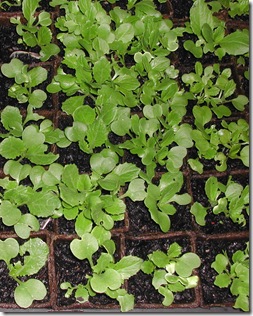
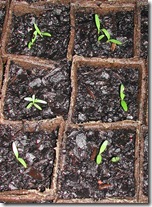
Chinese cabbage seeds have germinated well, and need to be thinned to a single seedling per pot.

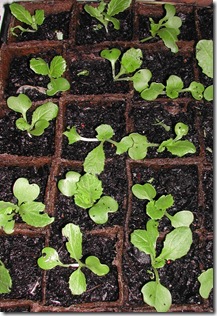
...and the same seedlings after thinning out.


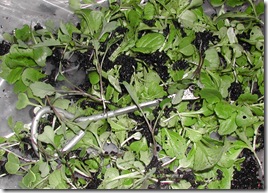
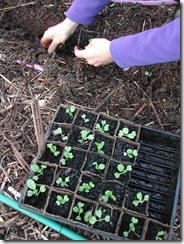
These are the thinnings; seedlings that have germinated but must be discarded to allow a single healthy cabbage to thrive. The simple screw-driver-like object is used in replanting any excess seedlings into empty pots where nothing at all germinated.Planting seedlings sown in these square fibre pots is simplicity itself; a narrow hoe is used to dig a 100mm line along the drip lines (which are already in place), and the pots are taken out of the tray and spaced appropriately on the flat bottom of this small trench. Soil is then scooped back into the trench between the pots and tamped down around them. That’s it!

The cook follows the hoe which follows the gardener. Fibre pots are simply placed in the trench and soil is back-filled around them. The roots will grow through the fibre pot as it breaks down in the soil. Now we wait some more for the warmth of Spring to bring them to maturity. Parsnip seedlings don't hurry; even after a month they are still tiny.In the case of the slow-growing parsnips, this is likely to be about six months away, at the height of summer.